ORC - Week 7 - The Closet
This week I’ve probably gotten the most done even though I may have the least to show for it! I’ve been working on our closet- the inside of the closet was never really part of the plan for ORC, but let’s just say a leak made it necessary!
This week I tackled the closet- including the inside and the doors, the latter which was planned!
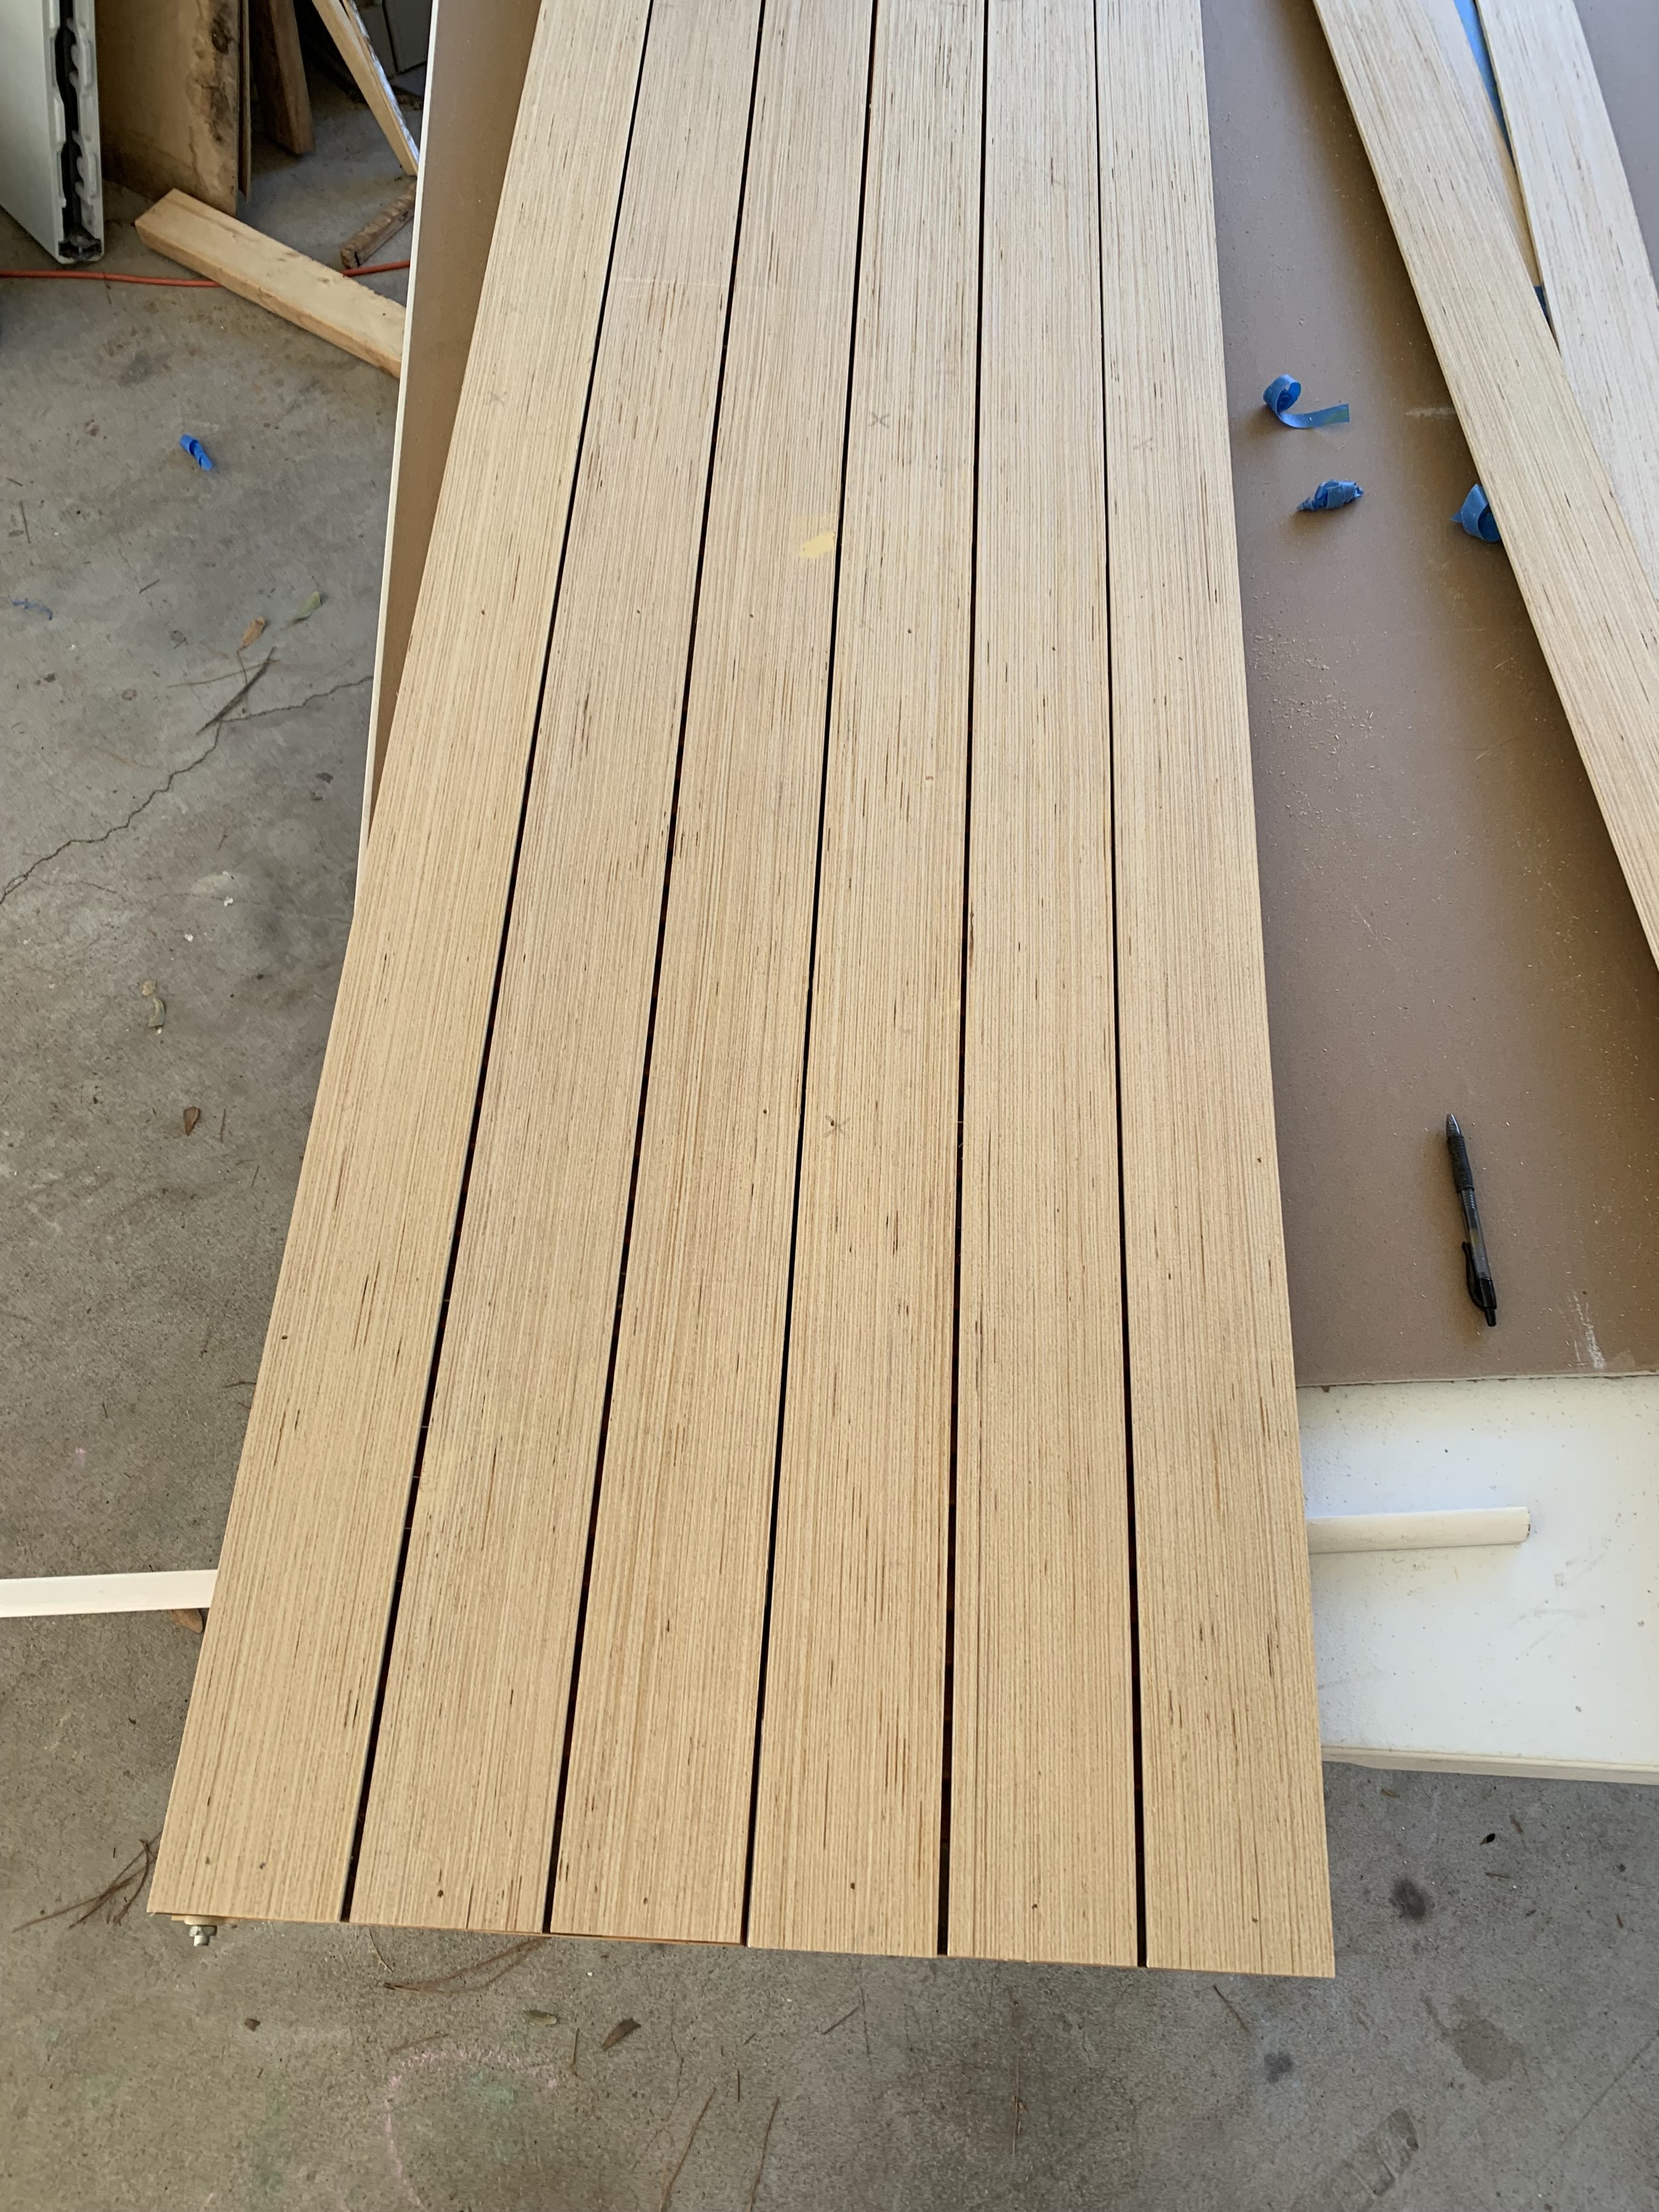
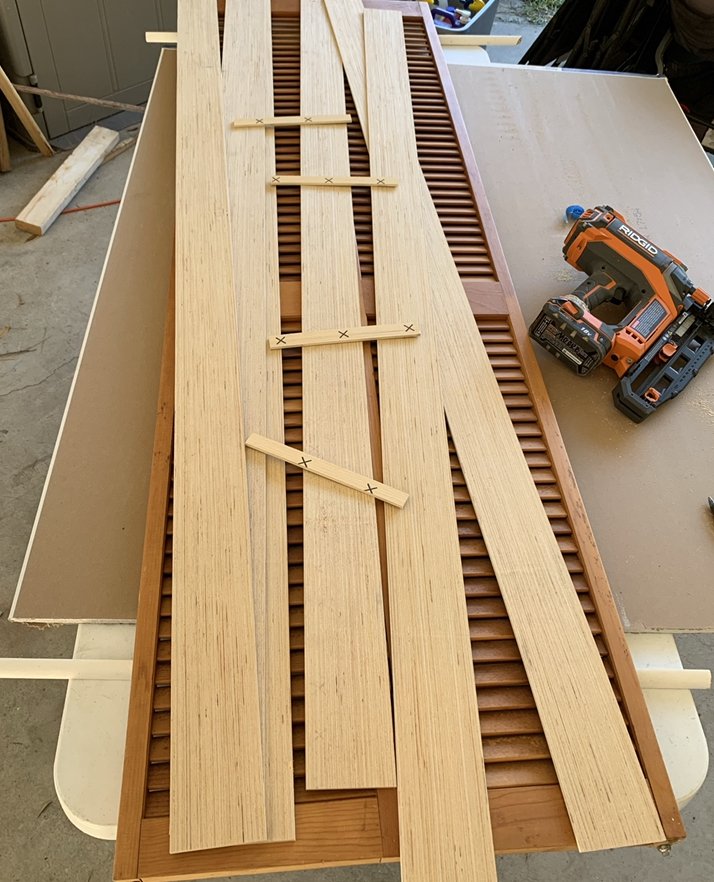
To accomplish this weathered slated wood door look, I began searching Pinterest for inspiration! I new I wanted to utilize a 1/4” plywood “slat” over the existing doors, but what I didn’t know is I would find the perfect inspiration photo, complete with the perfect DIY handles!! Source: Grace Oaks Designs
I started by cutting my 1/4” plywood down into 4 sections. Each of these I then stacked together to cut into 3.75” strips. From there, I sanded them, wiped them down, and then attached to the existing door with wood glue and a few finishing nails. I then painted the visible wood sections of the doors black, so make the small gaps appear cohesive and then moved on to painting each of the slats white… which I would probably suggest doing first to anyone recreating this process, as the white covered the black I had previously painted. Fortunately it’s not super visible, but something I would have just tweaked.
For the handles I used 2- 1” dowels cut to 16” each and 4 split ring hangers found in the plumbing department (intended for pipe). I spray painted the rings black, after a failed attempt at using my brass ager on copper. I stained the dowels with special walnut after conditioning. To attach the handles I predrilled holes into the dowels (since the 1” dowel is slightly smaller than the 1” ring hangers and drilled a screw through the dowel, though the back of the ring hanger, and into the door. I then attached the fronts of the ring hangers and voila, the perfect handles**
** Full disclosure, I later went back and looked at my inspiration and wished I had made the handles both longer and attached slightly lower. I honestly have another 1” dowel around here somewhere that I plan on using to create 24” handles.
As for the inside, I dry walled the damages pieces, mused/ sanded- that whole process, painted everything white, build a shoe/accessory/ whatever tower for the center to divide my husband’s side and mine, but also create a bit of extra storage. I still need to get the closet rods added, more shelves cut/ put in, but I’m so excited to just have our closet back and not have stuff everywhere (this is the part that hasn’t part of the plan Haha! Our clothes were never planning to leave the closet for more than a day for me to rip carpet up.)
What do I have left??
Well, a lot, but to not put too much pressure of myself- I’m going to prioritize my DIY shades for my wall sconces and styling the room. If there is randomly extra time- I’d love to deconstruct a chair or update our little stool side tables, but I can always work on those after the ORC is over. I’m overall just very happy to have a lighter, more warm and beautiful bedroom.
A special thanks to the One Room Challenge for hosting this challenge and all of the guest participant encouragers I’ve met along the way! I can’t wait to show y’all the final results!


